
3 Steps to add a Custom Font to Squarespace 7.1
Updated September 25, 2023
Squarespace has many built-in fonts combinations to choose from when styling your website. However, if you have another you’d like to use, here are the instructions to install and apply a custom font to Squarespace 7.1. Make sure you have a Squarespace account and create a trial site.
1. Define Your Font
Once logged into your website admin console, navigate to Website -> Website Tools -> Custom CSS. In the Custom CSS window, copy and paste this code:
@font-face{
font-family: ‘PICK A NAME’;
src: url(LINK TO FILE GOES HERE);
}
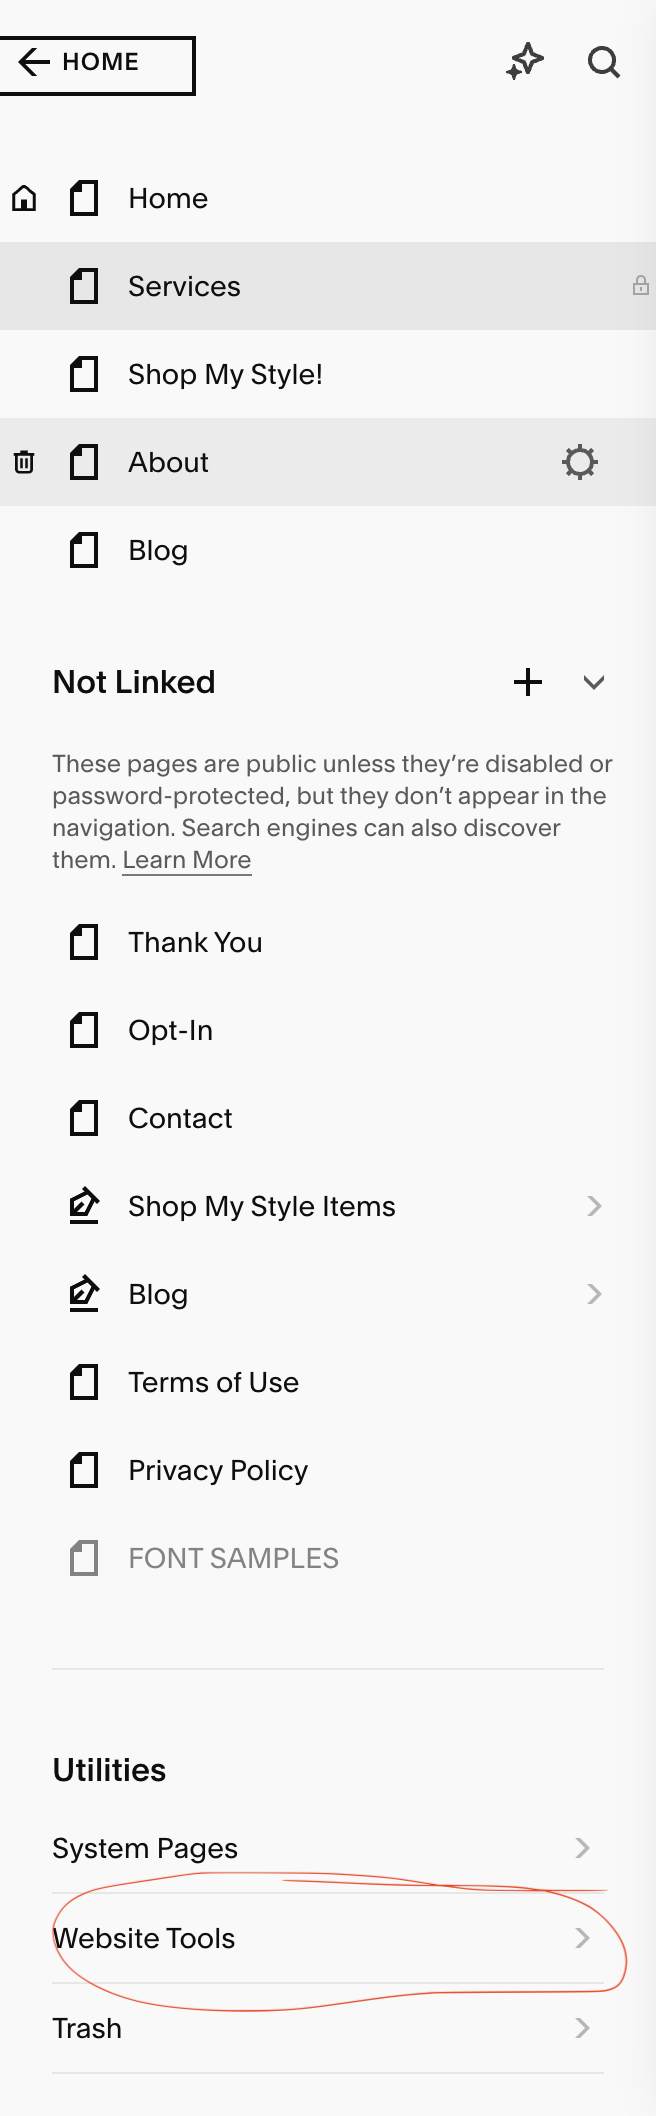
Website - > Website Tools


Delete the placeholder text“PICK A NAME” and replace it with the name you would lie to use for your font. A simple, one-word name relevant to the actual font name is a good idea so you can easily refer to it later. For example: ‘Avenir' or ‘Script’.
2. Upload Your Font File to Squarespace
First, you must have the font file for the font you’d like to use. This is a file that ends in .ttf, .woff, or .otf. To upload it to your Squarespace 7.1 site, scroll to the very bottom of the Custom CSS window and click “Manage Custom Files”, then “Add images or fonts” and upload your font file (Image 1 below).
Squarespace will generate a link for that font file when you upload it. You will need to insert this link in the code you pasted from above. To do so, first click on the space between the brackets, and delete the placeholder text for the source url. Make sure your cursor stays between the brackets, then click the Manage Custom Files menu (Image 2). Select the file you uploaded and the URL will automatically be added to the code. When you are finished it should look similar to Image 3.

IMAGE 1. Click ‘Manage Custom Files’ then upload your font file.

IMAGE 2. Delete placeholder text, place curser between brackets.

IMAGE 3. Open ‘Manage Custom Files’ and click the file you uploaded.
3. Apply Your Font
Now that you have your font uploaded and defined in Squarespace, you need to apply it. In Squarespace 7.1, there are 4 different Headings and 3 different Paragraphs to customize if you like.
Heading One: h1
Heading Two: h2
Heading Three: h3
Heading Four: h4
Paragraph One: .sqsrte-large
Paragraph Two: p
Paragraph Three: .sqsrte-small
Once you have decided which font to use where, copy and paste the code below into your CSS window below the code from earlier. Change ‘h1’ and ‘FONT NAME’ to apply the fonts as you like.
h1{
font-family: ‘FONT NAME’;
}
As an example, if you are defining all headers with the same font family, you can use this code:
h1, h2, h3, h4{
font-family: ‘FONT NAME’;
}
You can add multiple custom font files if, for example, you want to use a different font for your paragraphs. In that case, the font definition might look like this when you are finished:

Want more ?
Here is an awesome post on one of my favorite tools called Squarespace ID Finder and another tool I use ALL the time called Go Full Page for full page screen capture.
Notes:
Make sure you’ve obtained the correct license for your font. For suggestions on fonts, below are some beautiful options from Creative Market.
If you have any questions on these instructions please get in touch. jackie@jkcwebsitedesign.com.
Please note this post contains affiliate links. If you use these links to buy something we may earn a commission, but please know we only mention products that we love.


